
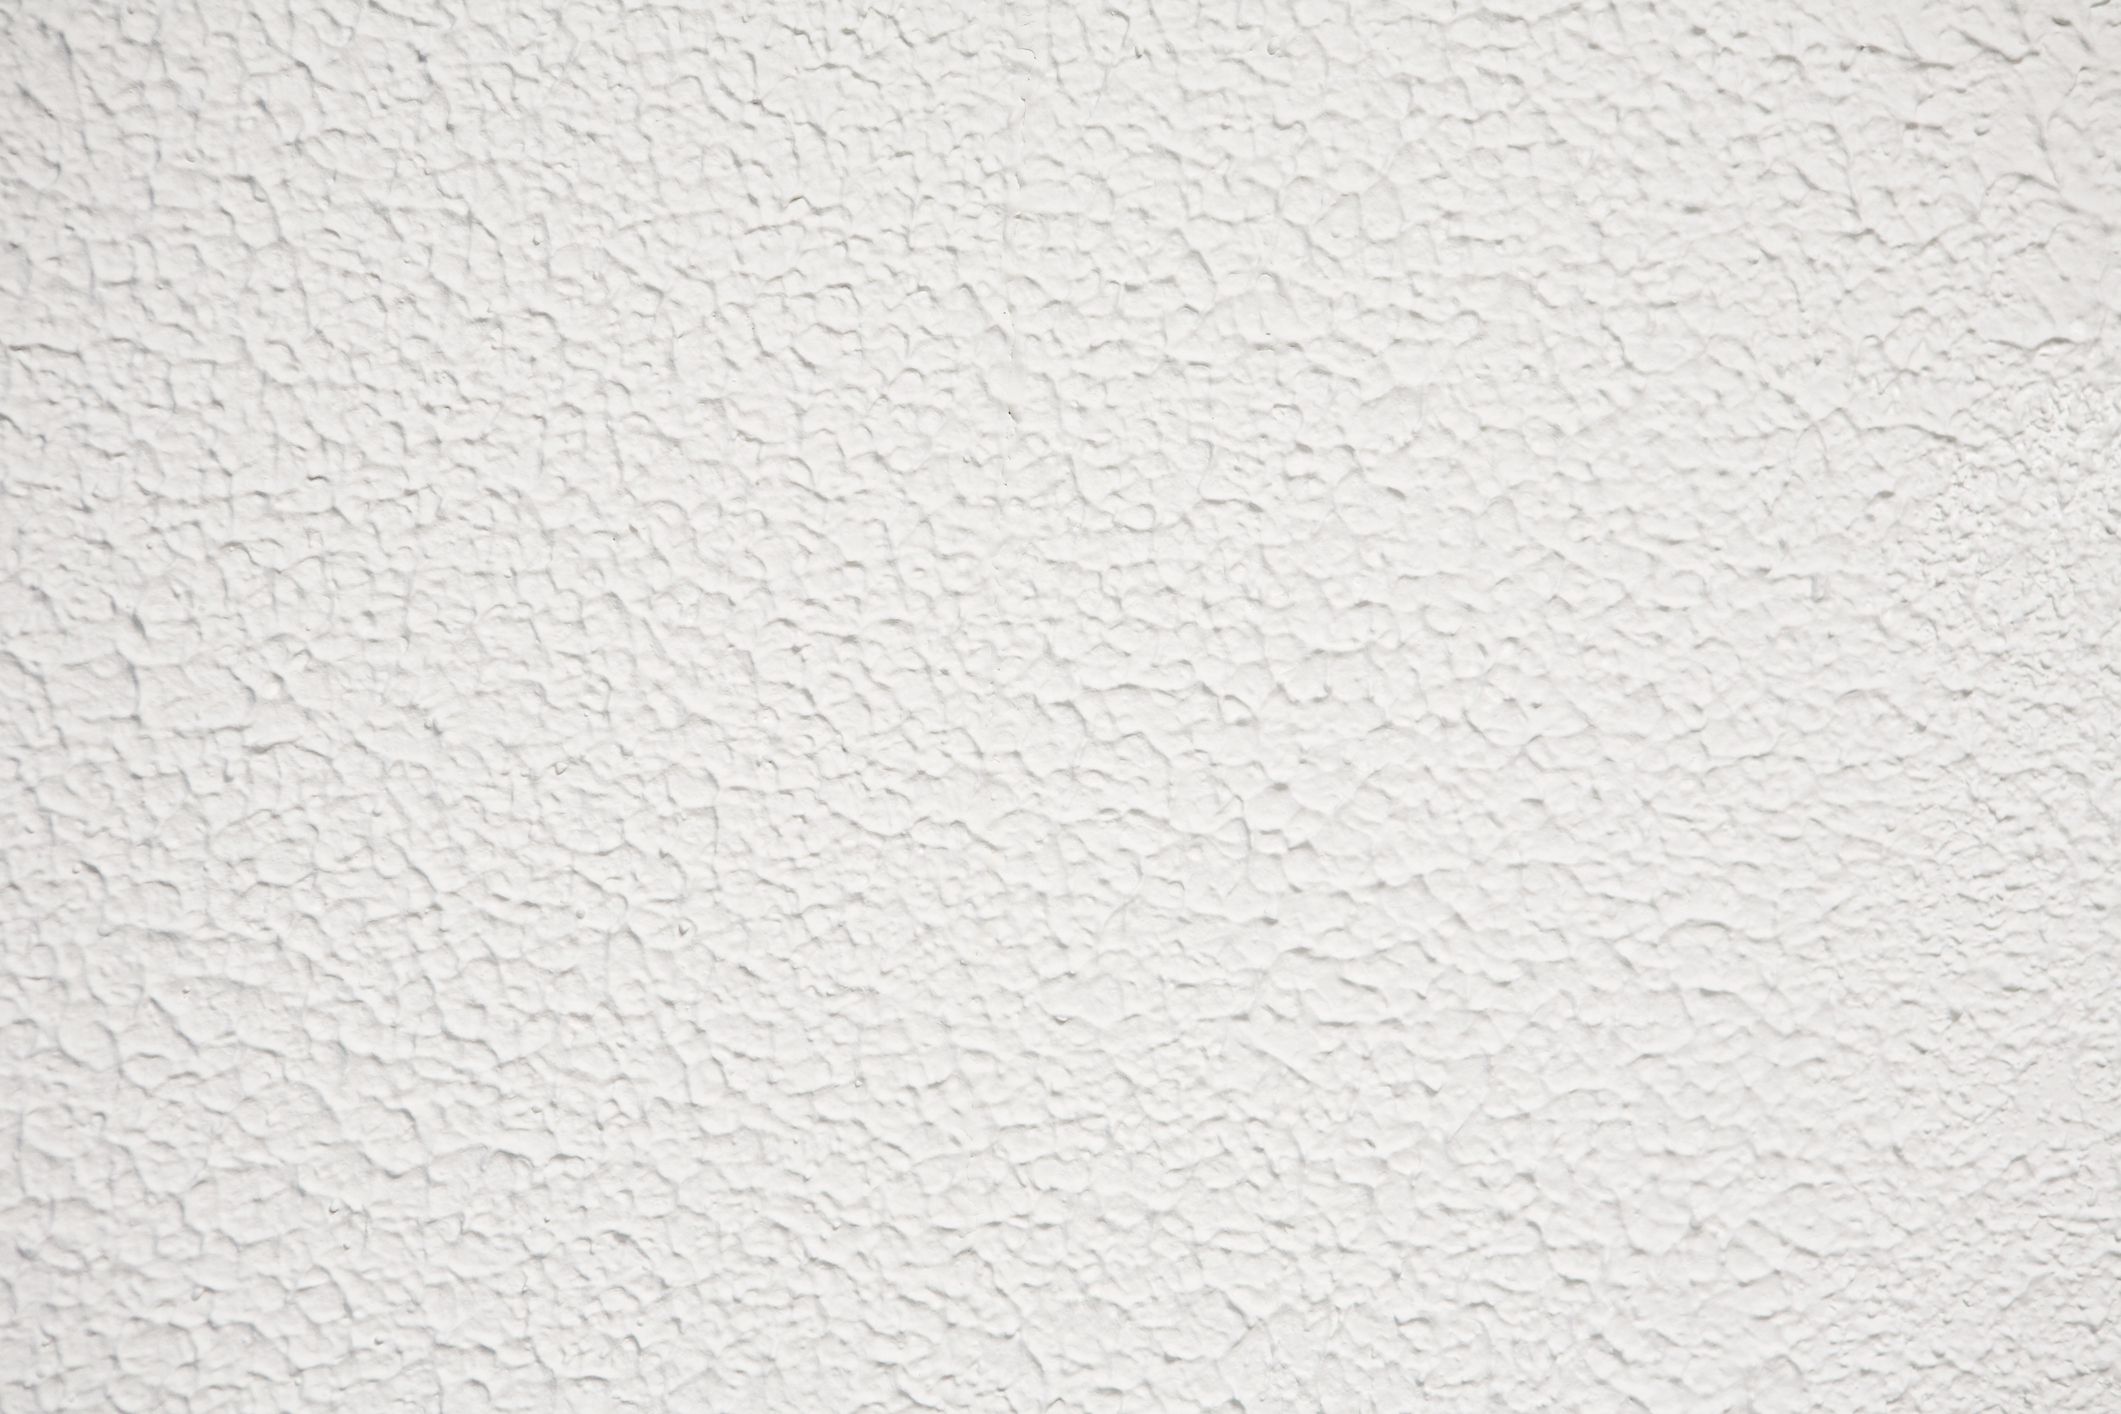
If you’ve decided it’s time to repaint your ceilings, you might be interested in going with a different look, as in a popcorn ceiling. Be sure it’s what you want before you start because it might be quite a bit of work to undo the “popcorn” look.
You will need the following materials if you plan to use a paint sprayer, instead of painting with a roller and brushes. Note that it can be a messy job, either way. You will need what is called a hopper gun and compressor, a paint tray, some sort of protective glasses in case the paint drips, either old clothes or a paint suit, such as coveralls, a step ladder, putty knife, paint mixer, masking tape, drop cloths, ceiling texture, a trowel, Spackle, and cheap impact drivers at Impact Driver Guide.
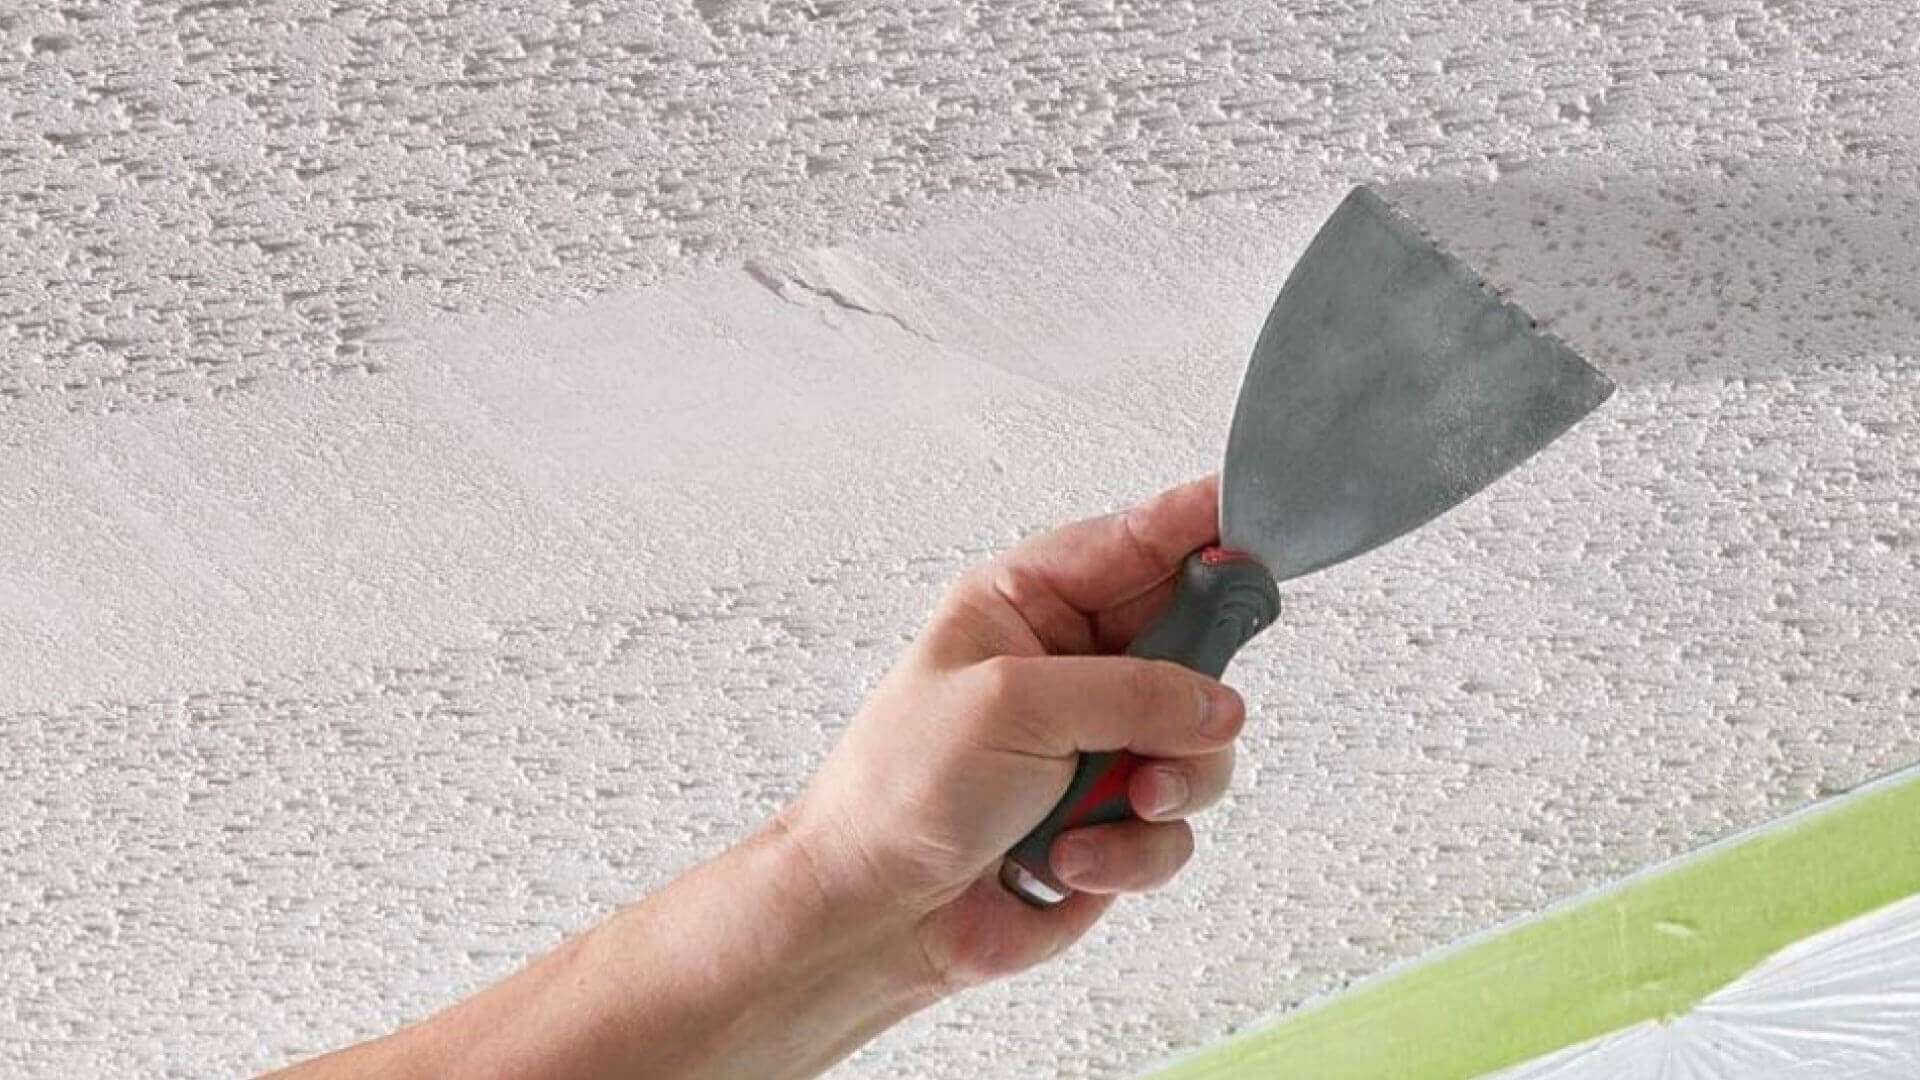
Before you begin, move as many pieces of furniture out of the room as possible. Use the spackling compound to fill in any dents or holes that might be in the ceiling. While the Spackle is drying, use the masking tape to go around all the edges of the area where the wall meets the ceiling. Place tarps or drop cloths over the furniture, floors, lamps, etc. After making sure that everything is as protected from paint drippings as you can, use a roller with a primer paint, and go over the ceiling. Allow the primer to dry for at least 4 hours. If you have never used a hopper gun before, it might be a good idea to load it with paint, (per instructions), and try it outside on a board, to get the “feel” of it.
Pour some texture mix in a large bucket or container and mix according to directions on the can. Use a paint mixer to make sure it is mixed well. It should be fairly thick when properly done. Make sure the hopper is full of paint, and the compressor is on. Start out using a light spray on the ceiling, and keep the hopper moving, so you don’t over-saturate an area. If you spray it on too thick, it will drip more. Keep using a back and forth motion to get the pattern even. Use a trowel to spread mixture into corners and around the edges. Clean up any spills right away. Wash your equipment. Allow drying for 24 hours before repainting, if it needs a second coat.
If you don’t have a hopper gun available, you can do the job the old fashioned way, with a roller. There are special rollers that can be purchased locally at paint stores, to apply thick paint like what is used with a popcorn ceiling. You will need the same materials, minus the hopper gun and compressor. If you plan on using a roller, also plan on getting messy! This method tends to drip more than a paint spraying gun. It’s important to make sure any coats of primer are dry, and also to make sure the first coat of your popcorn ceiling is dry before applying a second coat.